The actual block carving was much more difficult than I thought it would be. It was very hard work, and very tough on my arthritic hands and wrist. As a matter of fact, my wrist (that I sprained 2 years ago) is still giving me pain after 3 weeks. Above is my first test print on paper. It showed me that I needed to carve away more background material.

And here is my best print on the fabric. Not perfect, but OK. I have 3 prints from the class and now have to decide just what to do with them.
I learned that this process is not for me! Always good to know, but a disappointment to me. I guess I will stick with rubber stamps for printing on fabric. I have yet to try carving one, but I'm pretty sure it will be easier than the linoleum block. And I have a lot of purchased ones to play with before I need to worry about carving one, so that's good.
I taught my 3rd bag class 2 weeks ago. Probably my last one for while. I had 3 repeat students out of four...they said because they had so much fun in the first class they took that they wanted to do it again. And we had a lot of fun!
 |
| V's bag |
 |
| S's bag |
 |
| C's bag |
 |
| J's bag |
I went down south to visit my sister for 5 days. We had a lot of fun. Visited a couple of quilt shops, saw my niece and nephew who are both living in the area again, and went to dinner a few times. But mostly we sewed! I made a block for the BOM and then some other random things.

This is the sample block for the June Block Of the Month for the Tacoma Modern Quilt Guild. It is a pattern by Bonnie Hunter called Pineapple Blossom. The colors for June are lemon yellow, cerulean blue and white.
By the way, I found a fun website! It's called "Color Palettes", and it's a lot of fun to play around with. And I can see it being very helpful for planning a color scheme for a quilt. Just pick a color or two and pages and pages of suggested color schemes come up. Whee!
But mostly we made bags. Sally is making some to sell, and I was making them "just because". I've been using Noodlehead's Open Wide pouch tutorial, but decided to use a Missouri Star video this time, for doing the zippers a little differently. I did use Noodlehead's dimensions for the pouch though, as those are good sizes. I didn't do the zippers perfectly (wrong both times!) but the pouches came out good anyway.
 |
| smaller pouch |
I used some fabric I've been hoarding for years on this one! It finished at 11 inches wide by 7 inches tall.
 |
| and the lining |
 |
| the larger pouch |
And for this pouch I used some new fabric that I love! (my sister loved it too and had to order some for herself) This one finished at 12 inches wide by 9 inches tall.
 |
| And the lining |
I don't know if you can see in these photos, but I added ribbons and beads on the zipper tabs, so they're easier to open.
I forgot to get photos of the bags my sister was making. Her bags were very sophisticated, with linen and batiks.
We had some fun playing with Zoe, my sister's tuxedo cat.

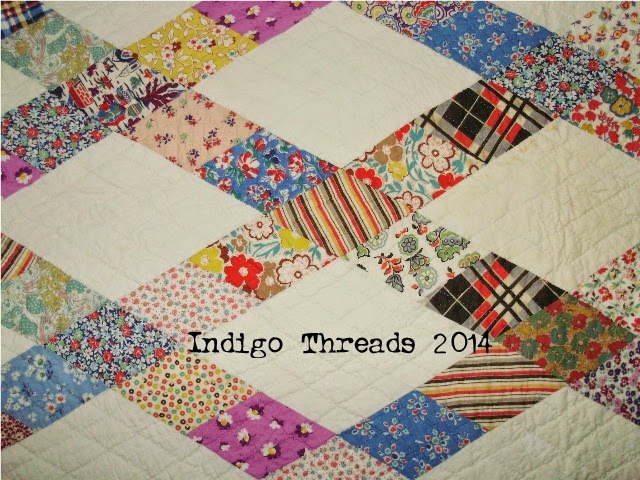
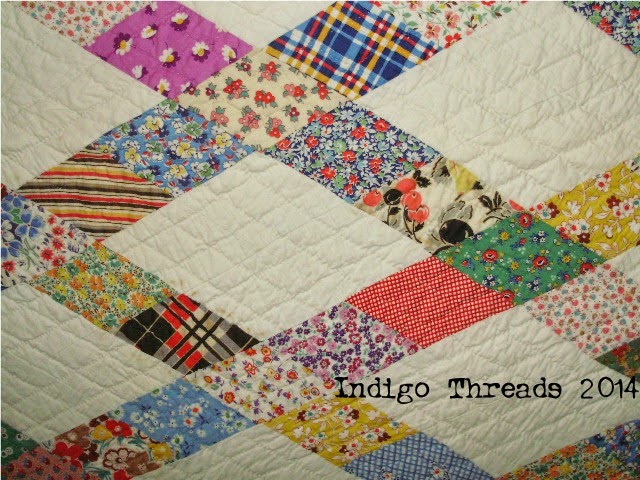
Zoe was modeling for us on a vintage quilt that my sister owns. It only took about 60 photos to get one good one!

And here is Zoe begging for her breakfast. She does this sitting up pose all the time. What a silly kitty!
I hope you have time to be creative this week!